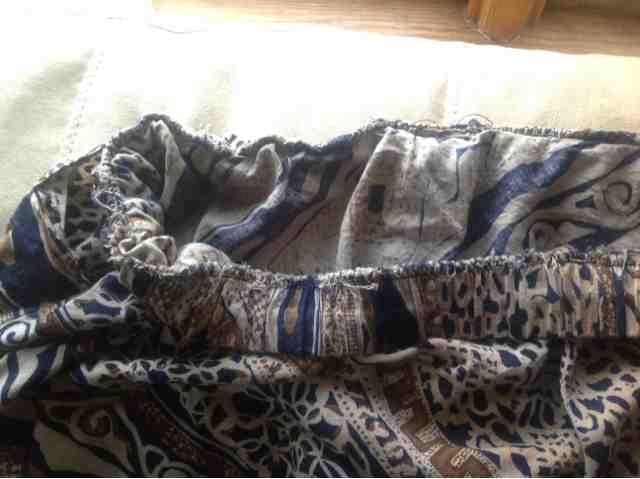
I rarely sew for myself. It's one of those mechanic's-car-never-runs, plumber-has-leaky-faucets type of things. When I'm making something for myself (ergo, not getting paid or having someone depending on me) I have no sense of urgency. I tend not to finish the things I make for myself, leaving them unhemmed, closed with safety pins instead of a hook and eye (that's literally true. I made a skirt and wore it for years without putting a hook and eye on it). I also never make anything fussy or complicated for myself. I tend to make very simple, utilitarian things I don't need a pattern for, like circle skirts, tunic tops, and pyjama pants.
This is my latest simple-but-great project. These pants are insanely comfortable and really, quite simple. They are a style that is actually quite ancient, being essentially the first pants every designed. They originated in Persia, which is why Aladdin wears them. They cover more than a skirt while at the same time being very good hot-weather pants. Lots of airflow.
I'm not going to attempt to post a pattern for two reasons: 1) I don't have one and 2) you don't need one. You can easily draw everything on the fabric.
You will need a square of whatever fabric you want. Light cottons, rayons and silks (if you're feeling fancy) are the best. Polyester would work fine as well, the key here is lightness. You want the fabric to be very drapey and floaty. Depending on the width of your fabric, you will need different lengths. So if your fabric is 115cm wide, you need 115cm in length (though most fabric stores only cut on the 10s, so you'll likely need to get 120cm). Keep in mind that the wider the fabric is, the longer the pants. If you're a bigger person like me, you probably won't be able to get anything longer than shorts and you may run into trouble with the smaller-width fabrics.
Okay. Tutorial time:
Measurements needed: Your hips at their widest point; your waist where you want the pants to sit; and your calf at its widest point.
1) Fold the fabric in half diagonally, then in half again bisecting the right angle.
2) Math time! To find the length that you measure down to create the waistline, take your HIP measurement and Divide it by 1.6, then divide it in half. The equation is r= (HIP/1.6)/2.
So let's say your hips are 100cm. 100/1.6 = 62.5
Divided in half again, and we have 31.3cm
3) Pivoting on the top corner, measure down your r from one side of the angle to the other. Cut along the line you've just drawn
4) At the other corner, find a place where the distance between the two sides is equal to half your calf measurement. I like to put a curve in this, but you don't have to. A straight line works fine as well. Cut along this line.
5) With right sides together, sew your side seams from the waist opening to the leg opening, using 1/4" seam allowance.
6) Cut 3 strips of fabric 2 times the width of your elastic + 1" wide (if your elastic is 1", cut the strip at 3"). You need one the length of your hip measurement + 1" and two the length of your calf measurement +1". Sew the ends of each together to make a circle.
7) Cut 1 piece of elastic 1" shorter than your waist measurement and 2 pieces of elastic 1" shorter than your calf measurement. Sew the ends of each together to make a circle.
8) Fold the fabric circles in half over the elastic circles, pin at the quarters. (The fabric circles will be bigger than the elastic circles.) Sew the fabric together, encasing the elastic. Stretch the elastic as you go. These are now your waistband and leg bands!
9) Attach the waistband and leg bands to the pants, stretching the elastic in the casing.
And you're done!
I hope this makes sense! If you try these, please leave a comment and let me know what needs clarification.


I don't need clarification... but I do need you to make me some *lol
ReplyDeleteHahaha! and Leanne, any time!
DeleteThank you for these instructions! I'm going to try making a pair!
ReplyDelete